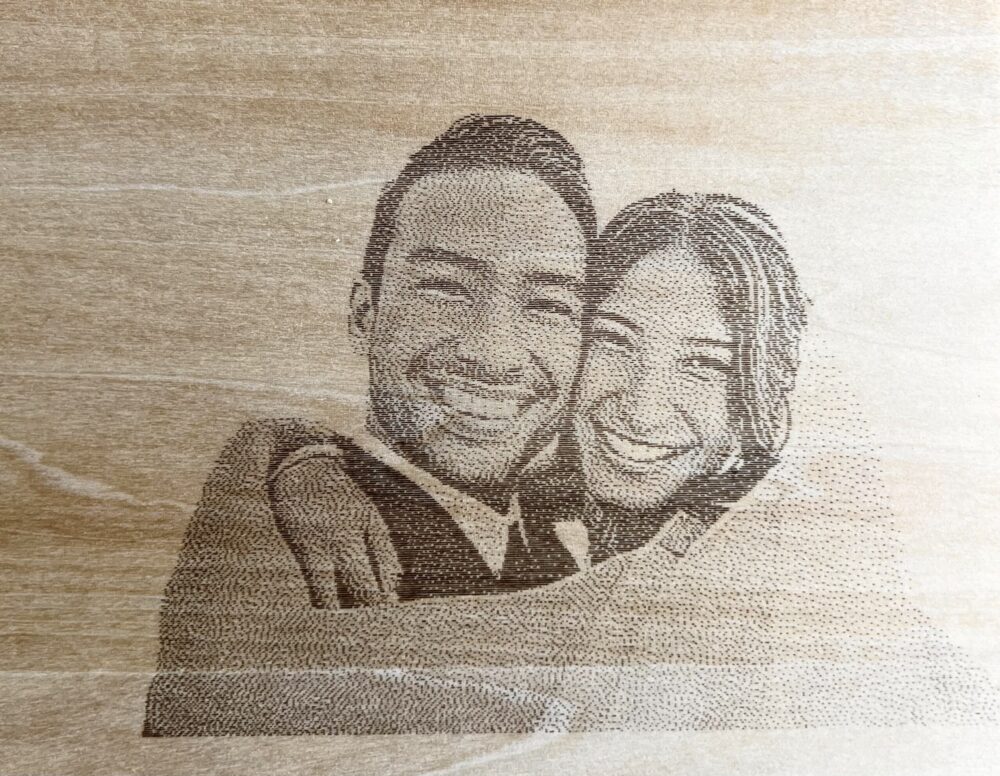
Laser engraving is a popular method for transferring pictures onto wood. It allows for precise and detailed images to be etched onto the surface, resulting in a professional-looking and long-lasting design. Here are the steps to laser engrave pictures onto wood:
- Choose the right type of wood: Certain types of wood work better for laser engraving due to their density and grain pattern. Hardwoods like maple, cherry, or birch are ideal options.
- Prepare the wood surface: Ensure that the wood is clean, dry, and free of any debris. Sand the surface smooth if necessary.
- Select and edit the picture: Choose a high-resolution image with good contrast and clarity. If needed, adjust the image using photo editing software to enhance contrast and convert it to black and white for better engraving results.
- Set up the laser engraving machine: Install the appropriate settings on the laser engraving machine, such as power, speed, and resolution, based on the type of wood and desired engraving depth. Consult the machine’s user manual and experiment with test pieces to find the optimal settings.
- Position the wood on the laser engraver: Securely clamp the piece of wood onto the laser engraving machine’s bed to prevent movement during the engraving process. Ensure that the wood is level and stable.
- Import the picture into the engraving software: Use the laser engraving machine’s software to import the edited picture file. Adjust the size, position, and orientation of the image to fit the wood surface.
- Preview and adjust the settings: Use the software’s preview function to check how the engraving will appear on the wood. Make any necessary adjustments to the laser power, speed, or resolution to achieve the desired outcome.
- Start the engraving process: Once everything is set up, start the laser engraving machine and closely monitor the process to ensure it is going smoothly. Be cautious of any smoke or burning smells, and take appropriate safety precautions.
- Clean and finish the engraving: After the engraving is complete, carefully remove the wood from the machine. Clean off any residue or ash using a soft brush or cloth. If desired, apply a sealant or finish to protect the engraved surface and enhance its appearance. By following these steps, you can effectively laser engrave pictures onto wood and create unique and personalized wooden artworks or gifts.